It never fails. I’m always amazed at watching a space transform right before my eyes. This is my favourite part about home (or in this case leasehold) improvements. The vision is finally coming alive!
In my last post, I introduced you to the most amazing ceiling tile ever, Genesis Waterproof Ceiling Panels. This is the product I specifically sourced out to help me revamp our old dated ceiling system.
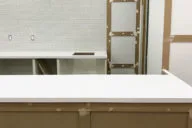
Just take a look at the night and day difference.
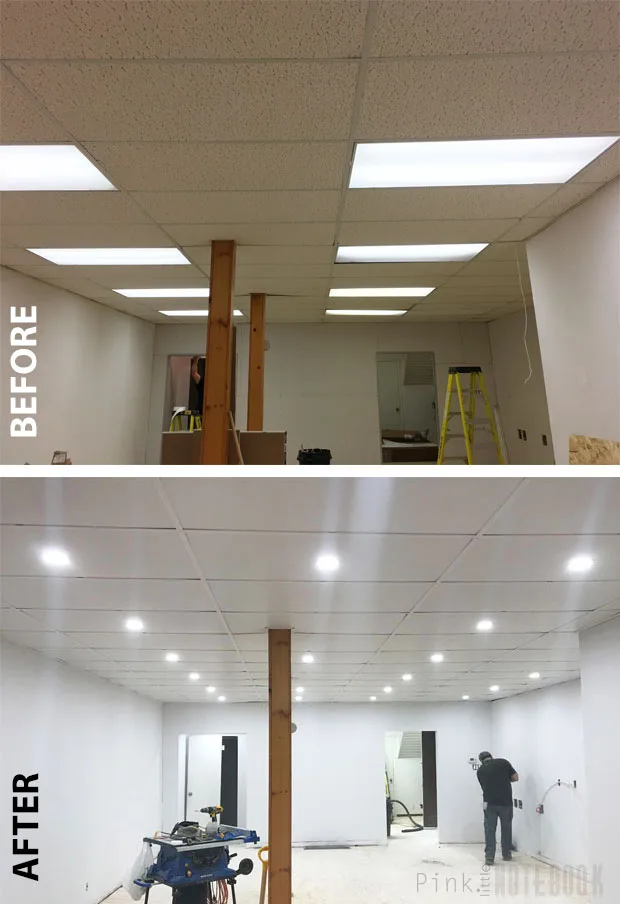
If you’re wondering “did she brighten the after photo?”, the answer is “no“. With the walls primed, the florescent lights removed and the ceiling tile replaced, light is just bouncing and reflecting off all the surfaces.
Colour temperature of your lights is also a huge factor as well. We used 4000K in this space for a neutral white (no warm/yellow tones, no cool/blue tones).
As you can imagine, I’m excited for this fresh start. The all new white palette in this unit leaves me with endless possibilities to create Project Whimsy!
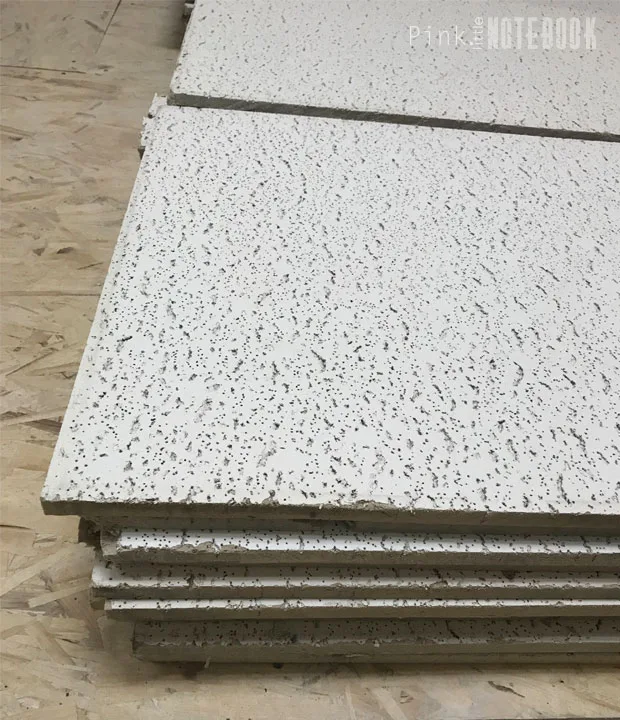
If you’re in the market to update your own suspended ceiling, here is everything you need to know when it comes to replacing ceiling tile.
1. Style
When choosing a ceiling panel design, make sure you pick one that compliments your space. For my 2′ x 4′ panels grid system, I was looking for something with clean lines and a smooth finish. The tile used in this post is from Genesis’ Standard Series collection (74500: 2×4 Smooth Pro Panel in White).
2. Grid System
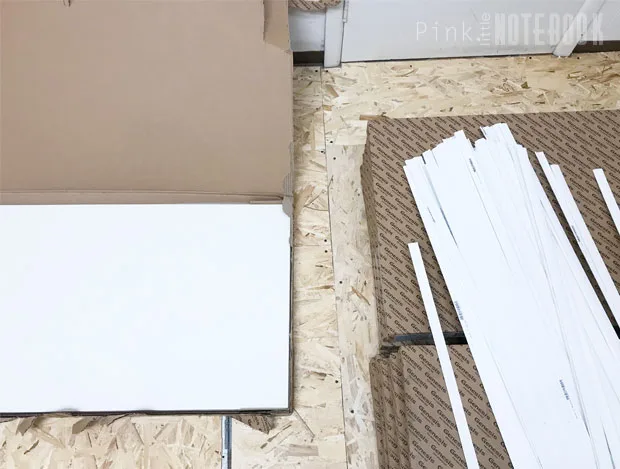
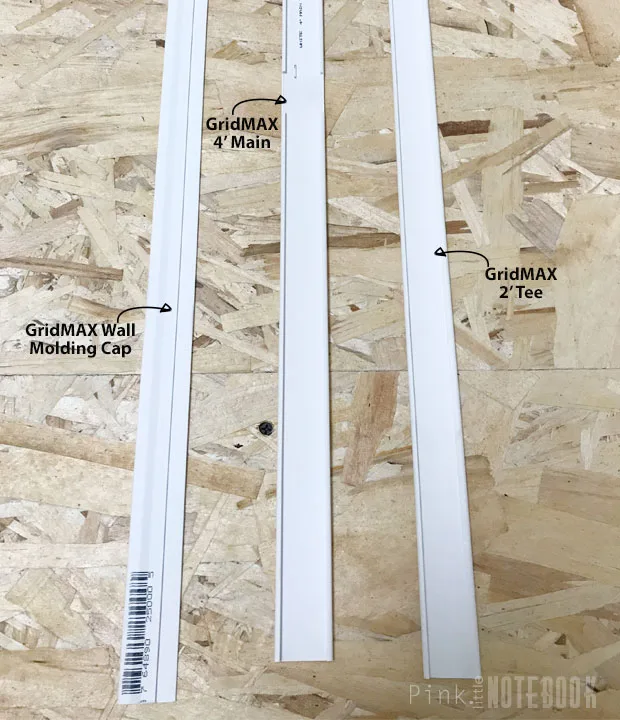
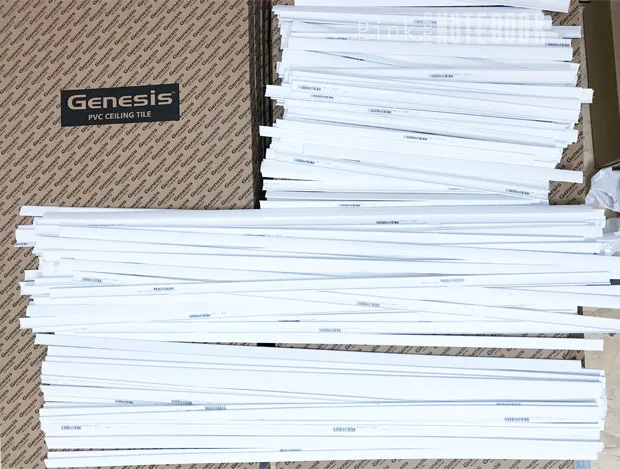
If your ceiling tiles need replacement, chances are your metal grid system needs some love too. There’s no need to take on the tedious task of replacing or re-painting your grid system, Genesis makes GridMAX covers that simply go over your existing T-bar.
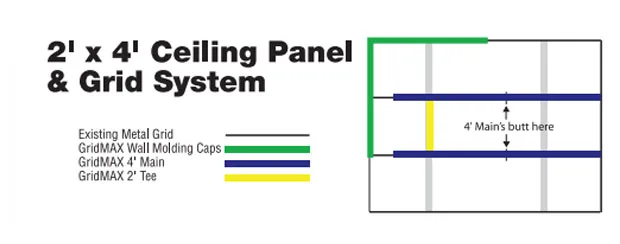
They are three different cover strips that you need to do the job. The Wall Molding Caps which are used to line the perimeter of the room. The 4′ Mains which cover the intersections of the grid system and the 2′ Tee, the shorter pieces of the grid, which finish the spaces in between.
3. GridMAX Cover Installation
The diagram below pretty much sums up the working order you must follow for a proper fit. It can get pretty tiring going up and down a ladder (especially in a larger space), so we found it best to work in sections and tackle whatever is in arms reach while on the ladder.
For instance, if we set up the ladder in the corner of the room first, we would start off with the Wall Molding Caps around the edge, as far as our arms can reach. Then add the 4′ Main that butt up against the Molding Caps and finished with the 2′ tees in between. Once completed, we would move the ladder to the next section and continue where we left off.
It took a couple of tries to get the hang of snapping the GridMAX covers in place. But once you get into the grove, it goes pretty quickly.
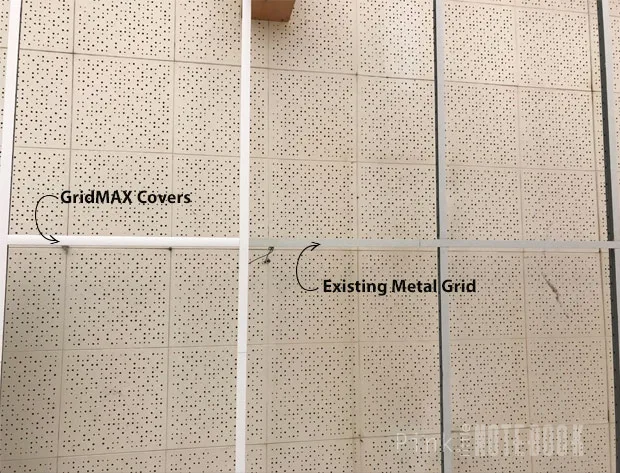
As you can see in the photos, we took down all our ceiling tiles. The old ceiling above our track system is one of the many surprises you’re likely to find in old historic buildings. Also, my biggest pet peeve. Why would anyone want to lose out on ceiling height? Why!?
4. Install Ceiling Tile
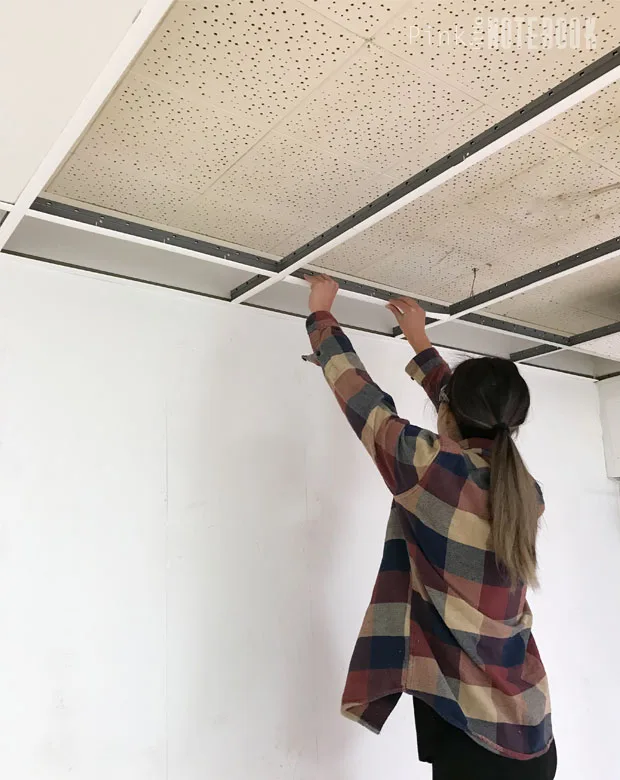
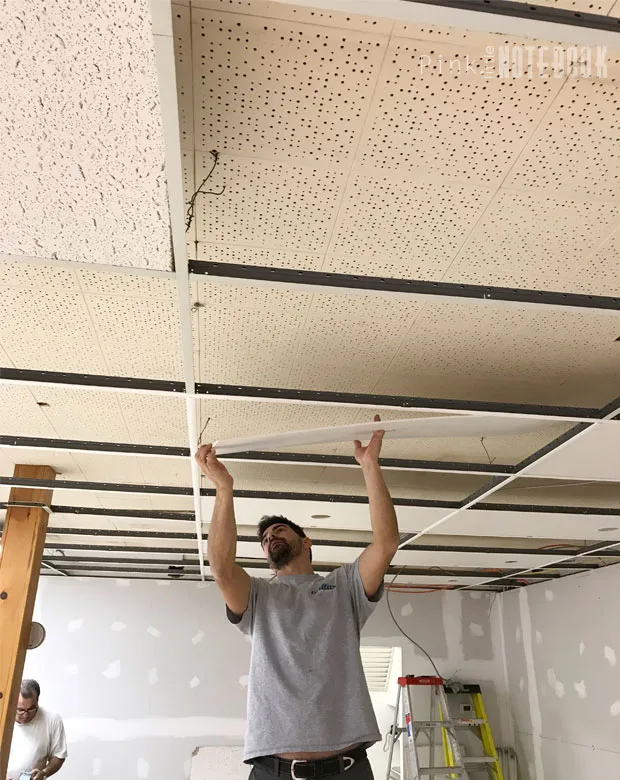
The Genesis Ceiling Panels are light weight and have a lot of flex to them, making installation very simple.
Although we removed all our old ceiling tile for this installation (which I recommend), there may be instances where you might want to keep your existing tile. In which case, you could just reface your ceiling by sliding these PVC panels under your old tile.
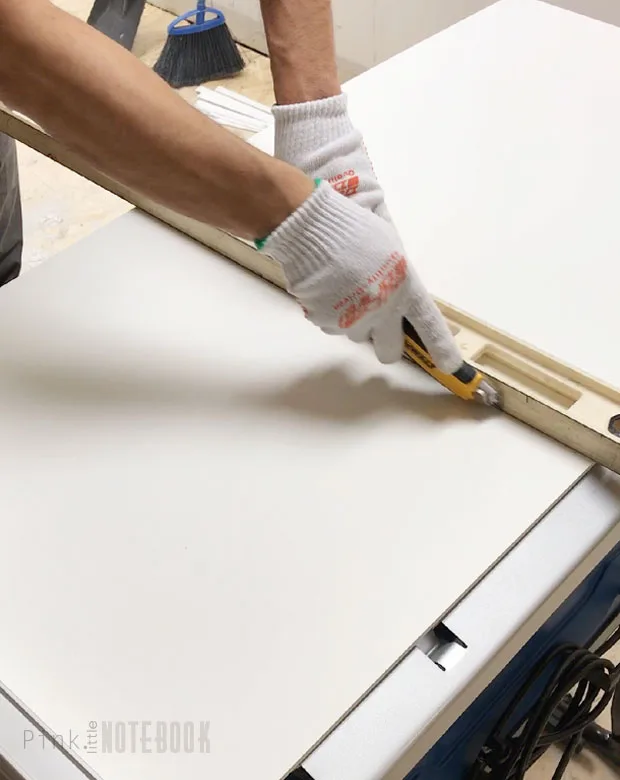
Cutting the panels is the easiest thing. All you need is a utility knife. Using a ruler, score the back side of the panel. Turn it around and snap it to size. All our border pieces were done this way.
Any electrical cut outs or other penetrations that require a circle cutout, we used a keyhole saw.
One by one, the ceiling tiles went back up. It’s a matter of just inserting them back into the empty space and settling them into place.
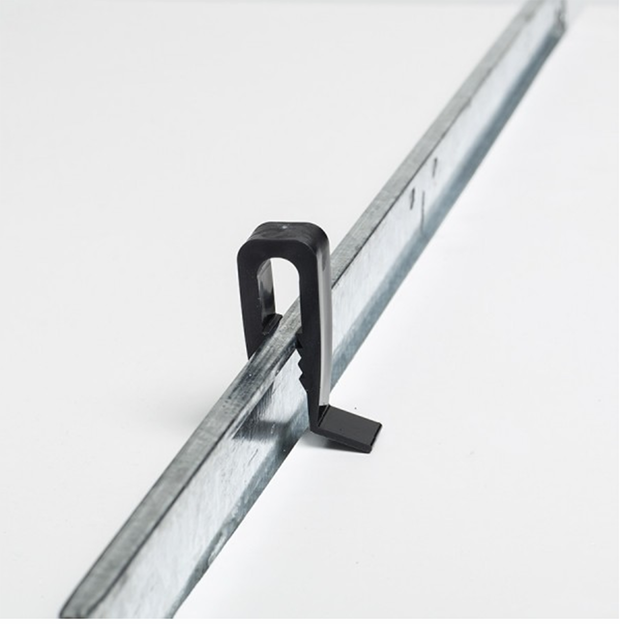
I did notice on a few of our tiles that the corner did sit slightly higher than the rest of tile. According to Genesis, this is a result of grids that have “stab and connect” system. The solution to fix this problem is Ceiling Tile Hold Down Clips that you place over the corner to push them back down.
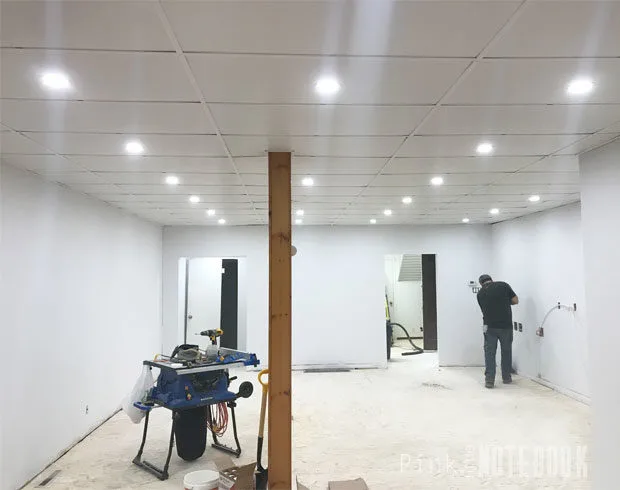
And there you have it, my new ceiling. The best part, there was no waiting around for things to dry, no need to sand or paint. Simply install the Genesis products and watch it instantly transformation!
This is such a great starting point for my shop makeover, I can’t wait to show you the rest.

Click through these links to see more about our shop makeover: Some Pretty Exciting News, We all Scream for Ice Cream!, Old Dated Ceiling Tile-No Problem, DIY: How to Update Old Ceiling Tile, Marble Accent Wall with Murals Wallpaper, Is Vinyl Flooring a Good Choice?, Our New Karndean Floor, DIY Laminate Countertops, Finishing Details, Final Reveal: My Ice Cream Shop
Disclosure: I only use products I love and trust and I’m ecstatic, Genesis Ceiling Panels, has agreed to partner with me in my unit makeover. As always, this post reflects my honest thoughts and opinions.






10 Comments
Woah- the before and after is crazy! I didn’t realize the whole process to do that DIY! Your end result looks great.
xoxo A
http://www.southernbelleintraining.com
Thanks so much Annaliese!
this is so awesome!! And EASY! I wish i had seen this in one of my old apartments, we hated the drop ceiling and this would’ve been the perfect cost effective solution for our landlords!
Some of the older drops ceilings are an eyesore. This is definitely a great upgrade to consider!
Hi! I’ve been browsing genesis panels for my basement remodel. Where did you get the gridmax covers from? I was just going to paint my grid.
Hi Bonnie, The GridMAX covers can be purchased from the DIY Decor Store
I am in the early stages of planning our basement redo. Can you tell me what was involved in switching from your fluorescent tubes to (the much better thing you have now lol)? And what are your new light fixtures — recessed cans?
Id love to know more about the can lights as well. Was that a hard switch over?
Oh that’s really Nice. Specially the Comparison . I really like the content. The new look is really amazing.
Great work
Hi Sabrina,
Can you please tell me how difficult it was to remove your fluorescent lighting and installing what appears to be can lighting? Your space looks great!
Many Thanks! Tracy