
This past week we began to work on our stair treads.
All 13 of them!
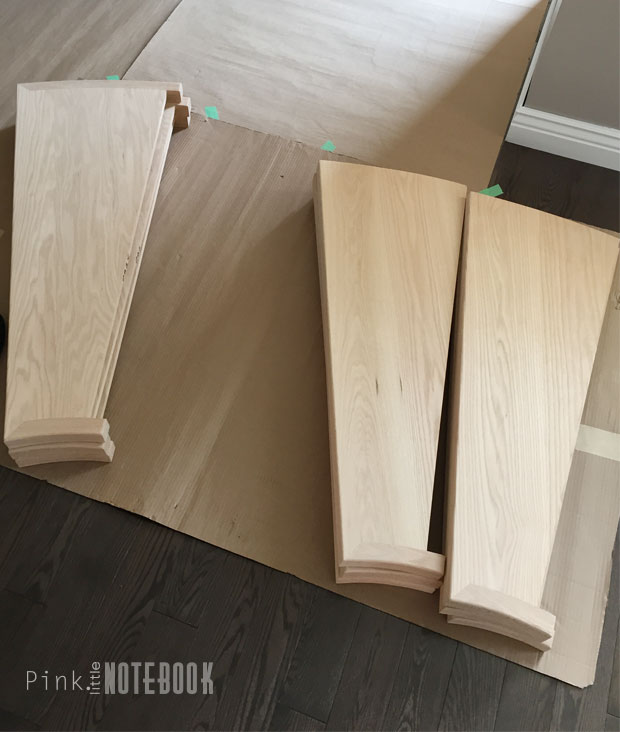
The Plan: To dry fit each step prior to staining.
As you may recall from my previous post, all our treads were made specifically for our staircase. However, we learned that a little finessing is still required before installation can take place.

It turns out, each stair tread is given a little extra play on the curved side that goes up against the wall. The reason being is you want to be able to sand that end to the exact radius of your wall for a perfect fit.
Since we are newbies at this, the “stair man” left us with more play than necessary incase of mistakes. We had an extra 2 inches on the one side that needed to be trimmed and sanded.

The process is fairly simple but, my gawd, does it take a lot of time and patiences. Big Joe even came out to give us a hand for this one!

This is what we found worked for us. We measured the excess we needed to cut off directly on the stair tread.

Next we created a template out of cardboard to get the exact curve of the step. We lined this template up with the measurements we just made and traced out this curve on our stair tread.

We followed the line with a circular saw which trimmed off the excess and left us with a 1/4″ to sand down.
I did forget to take a picture of the sanding but we used a heavy duty belt sander which we rented from Home Depot. The sanding allows you to get an accurate curve with a smooth finish.

I will admit the first few treads took a little longer than expected. It took us a few back and forth trips to figure out exactly what we were doing. However, by the time we finished the first few, we got the hang of it and the remaining stair treads were a breeze to complete.
Since our risers are painted and ready to go, we didn’t want to muck them up during this process. So we used scrap pieces of risers to account for the width when we did our dry fit.

Luckily since the last three steps are opened on both ends, no trimming was required. These were made to fit directly over the existing plywood.
We’re getting there!
To fast forward to the staircase reveal, click here!


9 Comments
That staircase!! How incredibly grand. I have stair jealousy. 🙂
You guys are rocking that staircase build!
That is an awesome DIY project and it looks beautiful!
have you decided on a railing yet??
this looks like an awesome project, I wonder if its much easier when you don’t have a curved staircase. I cant wait to see what color you chose as a stain!!!
We are definitely using our existing railing but stuck on what we should do with our balusters?! Don’t know if we are just going to paint our existing balusters white or purchase new ones. I guess it all depends if I find something I really like in our budget ;p Yes, this would definitely be easier if it were a straight staircase. Materials would be cheaper as well (which is always a bonus)
Wow! Gorgeous! Will you be staining it or sealing it or will you add a natural coating and call it a day? I’m looking forward to seeing the final look!
Hi Selena, we are in the process of staining it! We got a custom stain made to match our existing floor colour. All the details will be posted in an upcoming post 🙂
wow!! i wish I could do this too! such a mice project! well-done!
Very exciting. Well done on doing them yourselves too.
Looks nice. How did you handle the detail where the the new riser meets the existing skirt board? Typically this joint is mitered but if you didn’t also replace the skirt board, I’m not sure how it can be.