

Since we moved into our house, I’ve been eagerly waiting to do something with my bare pendant lights hanging in our hallway. As I recently revealed our new painted staircase, I thought this would be the perfect opportunity to tackle this project.
I brainstormed a few things and I came up with this brilliant idea to make an ultra sleek pendant out of wood veneer! I bought all my supplies, tried to put it together and then realized it wasn’t going to work (don’t you hate when that happens?!)

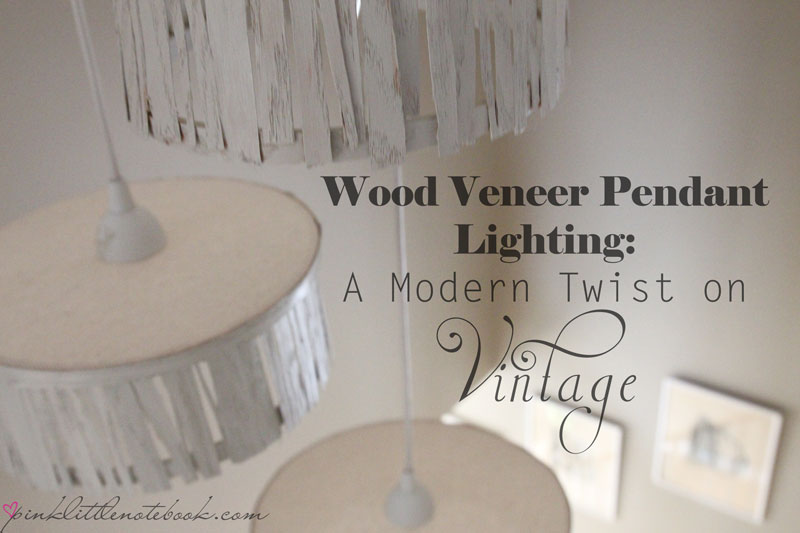
With my frustration on the rise, I scrap my original idea and came up with another one. Taking all my broken pieces of veneer, I created a pendant shade that matched the look and feel of all the vintage artwork lining my hallway. To add a modern twist to it, I finished the pendant shades with an amazing colour from Para Paints.


How-To:
1) Trace the shape of the embroidery hoop on your cross stitch cloth. Remember to leave an extra half inch around your hoop so you may glue it down. Next find the middle of your hoop and trace the ring from your pendant light kit. This will be the insert for your light.
2) Cut everything out. Use your glue gun and secure the edges of your cloth around your embroidery hoop. Make sure it’s nice and snug.

3) Cut stripes of veneer to the circumference of your hoop and glue down. You want to cover all your edging.
4) Cut your reminding veneer into 4″ stripes. I used a variety of different widths as I wanted an old worn out look.
Side Note: If you are painting, this would be a good time to paint all of your veneer.

5) Lay your shade flat on the table and sporadically glue different widths of your veneer around the edge of the inner embroidery hoop. Keep in mind it’s supposed to look old so the rougher it looks, the better. You can’t go wrong with this one!
6) Once you’ve completed step 5, take your second hoop and place it inside of your lampshade lining the edge. Adjust it until it looks leveled to you. Then take your glue gun and secure the veneer to the outside of the embroidery hoop.

7) As I mentioned above, it is best to paint in step 4, however, painting was a last minute decision for me. After receiving some Para Paints colours for a Christmas project I’m currently working on, I couldn’t help but fall in love with this amazing colour (Spring Sage-PF40). I just had to use it!
8) I began painting the inside of the shade first using a sponge brush. For any hard to reach places, I used a small paint brush. I did the same thing for the outside. To keep intact with my vintage feel, I used a light coat of paint so that the wood grains would show through.

9) Once everything is dry, insert the lamp kit through the hole you’ve made in the top and screw the ring into place. Don’t forget the bulb!

What do you think? Have you created your owing lighting?
Happy DIY-ing!


31 Comments
This is so cool! I have plenty of boob light fixtures in my place that could use this kind of treatment!
Pinned!!
Thanks for the comment Becky!! Creating your own treatment is definitely a fun project and not to mention a huge money saver!
You have no idea how much I love this! I am a die hard fan of wood crafts and veneer and this is so amazing! Pinning!
Thanks so much Alex! I love wood crafts as well. They make such a stunning statement!
So creative, Sabrina! It turned out great 🙂
Thanks so much Susan!
This is AWESOME! I love it! Pinning right now!
Thanks Tara!
These look fantasitc, what a great idea. Easy to follow tutorial as well, thanks!
Thanks for the comment Sarah!
I wish I had the craft genes! Loved reading your post!
Thanks for stopping by Claudia!
So interesting and in turned out lovely!
thanks so much Trisha!
Love this idea ! I can’t wait to do this in my house! 🙂
It’s super easy and makes all the difference in a room! thanks for the comment!
How pretty! I love creative DIY ideas for the home. Wonderful, clear directions, too. These would probably look good in any color actually.
You are definitely right! That’s the best thing about DIY, you can cater to any colour in your home! Thanks for stopping by:)
These are so cute and creative! I love how simple yet stylish they are! Thanks so much for sharing your tutorial, I’ll have to remember how you made these so I can make some for my next home!
It’s lots of fun to create. Thanks for the comment Lauren!
To be honest I never even tried!! After seeing how cute yours came out I may have to try myself! I wonder if I could paint it without the heat from the light ruining the color..
I don’t think it should be a problem! I’ve painted a few light fixture in the past and never had an issue. The colour still looks as good as the day I painted it! Thanks so much for stopping by Savannah!!
Very creative, I am impressed! It reminds me of something they would do on one of the GOOD episodes of trading spaces!
Awww thanks for the awesome comment Kim!!
That is gorgeous!! Creative and beautiful! I love do it yourself!
Me too! can’t get enough of it! Thanks for the comment Jen!
I love this! What a great way to make a failed project work! 🙂
This is fabulous! Great job. Always wanted to make my own lighting…
I am in love with this. Can you please send me photos of the finished light from a distance for the full effect? Also, it looks like you did a cluster of these in different sizes, or am I seeing it wrong..? One more question, where do I buy the veneer?
This is so perfect— I want to do this in my 2-story entry…