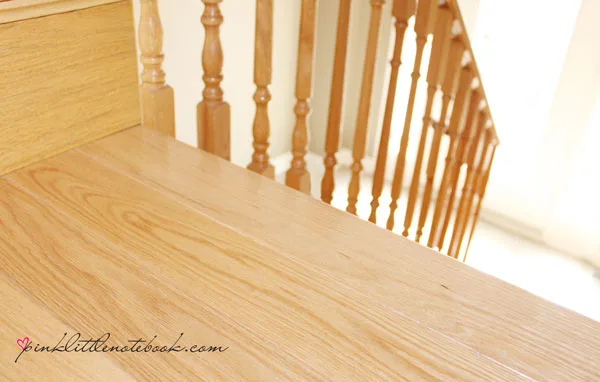
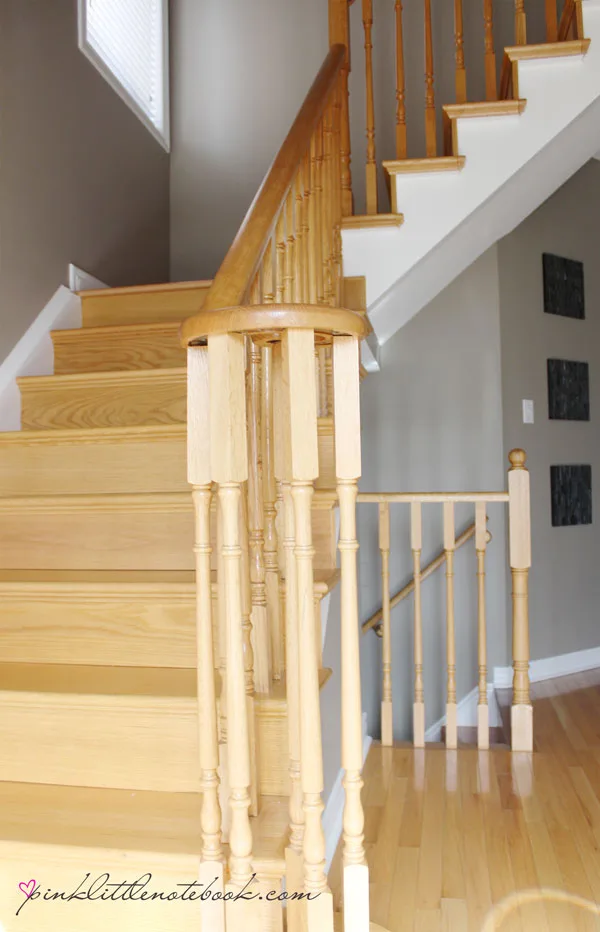
Just a few days after completing my bathroom makeover, I figured it was a good time to jump head first into re-painting my staircase. What?! I’m a workaholic or so I thought… three weeks have gone by and I’m about halfway done (not quite where I wanted to be!). http://www.trauma-pages.com/s/viagra-online.php
Now don’t get me wrong, my stair risers were the first thing completed! Within 45 minutes, I managed to put two coats of paint, drink a large glass of wine and do a few happy dances to some of my favourite songs playing on the radio. . . http://www.trauma-pages.com/s/generic-cialis.php
But. And it’s a very big BUT! The reason why my staircase is not fully completed yet is because of those horrid “spindles”. Gawd I hate that word. I wish I can say I found the magic tool to make the process of painting spindles go faster but I don’t. And for any of you who ever had to paint spindles, you know what I’m talking about. I’ll save my thoughts on spindles for another blog post! https://www.onlinemmjlosangeles.com/blog/clomid-over-the-counter/
Back on topic. You’re probably wondering what the magnificent tool for painting stair risers is? Well, it’s one of these!
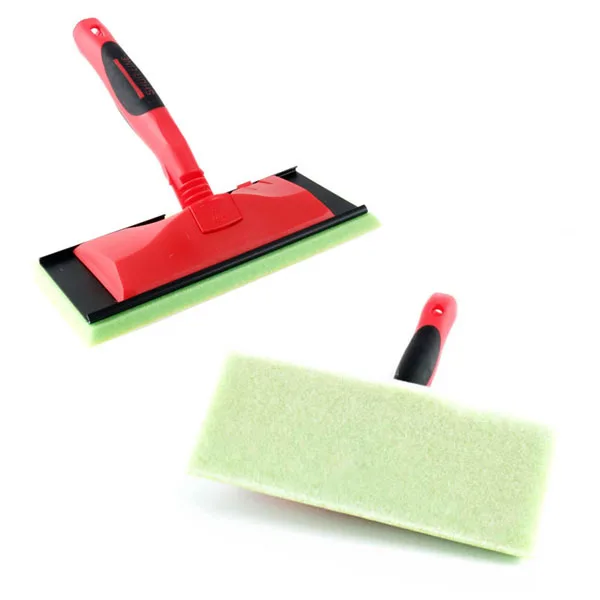
Yes, it’s that simple, just an ordinary wall edger (I used Shur-Line, 7″ edger). I was so impressed with this tool and may I add, myself, for even thinking up an alternative use for this tool!
Take a look, it’s literally this simple. Dip into your paint and slowly drag across your riser in one direction starting from the bottom…
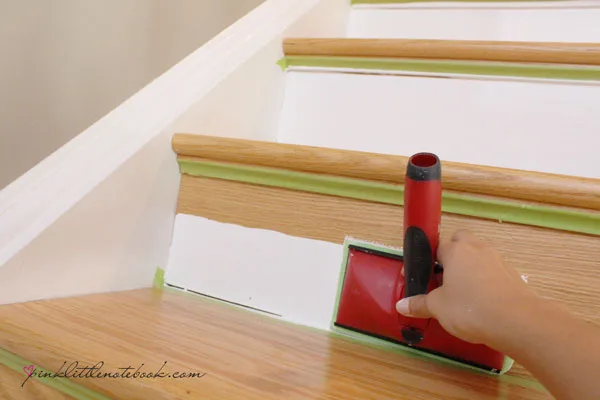
….and then do the same on top.
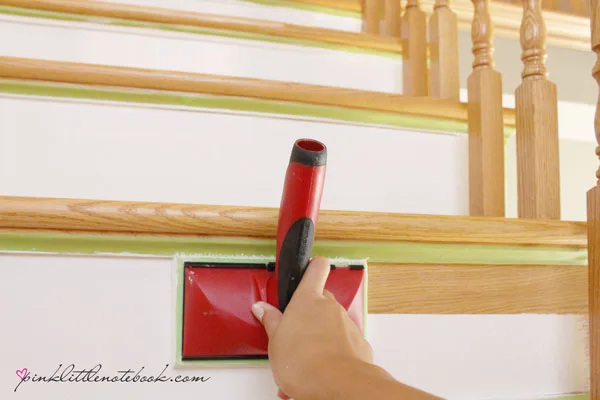
With two drags and10 seconds later, you have just completed a nice (very even) first coat!
I continued this process all the way to the bottom of my staircase. By the time I went back up to the first step, it was already dry. I probably should have waited a bit longer before I proceeded with the second coat but I didn’t, I was on a role and having way to much fun with this.
And that’s it! It was that quick and that easy.
Oh, before I end this post, I thought I’d share some prepping advice with you (just so I can save you from making the same mistakes I did)
- Make sure you tape everything. Having straight lines and no paint on your stair tread is a very important component to making your staircase look flawless.
- Check if your staircase has been previously painted with a stain or oil paint <—-very important. You cannot, I repeat, CANNOT, use latex paint over a stain/oil finishing. It will start to peel once it has dried.
- If it has been finished with stain/oil, use a oil base primer. Once this is finished, you may use a latex paint on top since it has something to stick to (always read the labels on the primer to confirm)
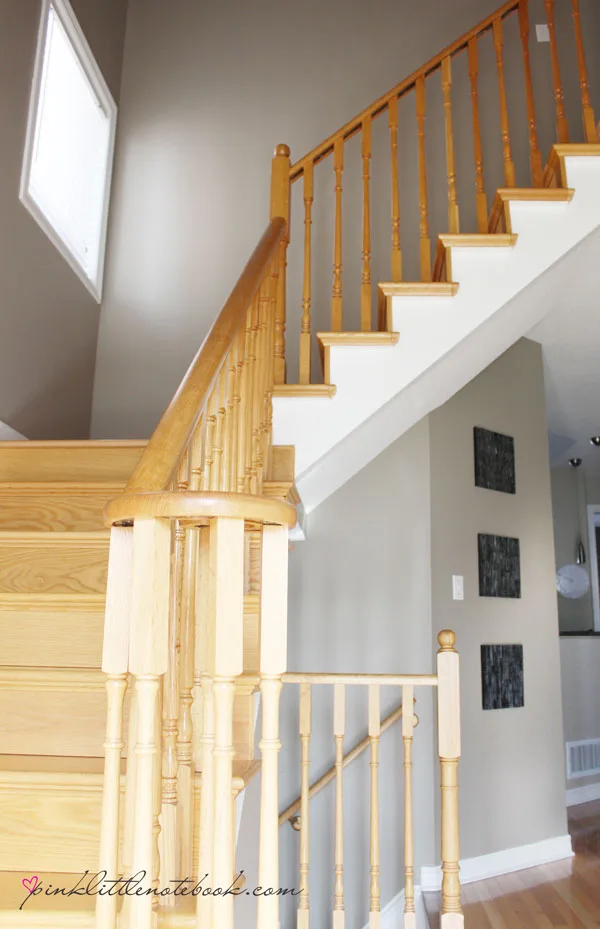
Stay tune for the finished product! [UPDATE: View the finished staircase here]
Have you painted your staircase? what tools did you use?




24 Comments
How funny, I am wrapping up my bathroom and moving on to my stairwell too! I’ve got a lot of riser painting in my future so I’ll have to pick up one of those brushes. Good luck with the balusters!!
It’s definitely worth to pick one up. It makes painting risers a breeze! Thanks Elisa & good luck 🙂
Hi Sabrina, We have a new stairs to complete and would like to follow the same sort of style you have done. Would you recommend varnishing or painting first. We are thinking of varnishing first.
Thanks
Steve
Hi Steve! Thanks for the comment! We didn’t have to varnish our staircase so we just went straight to the white paint. If I did have to varnish, my thought process would be to do it first. I would want to get the messy stuff out of the way plus you don’t want to accidently spot up your white paint. Hope that helps!
Thanks Sabrina… Will go with the Varnish first and then paint… Hope ours turns out as nice as yours
Hi Sabrina
You make it sound so simple!
I thought I would have to sand everything down, since it’s already painted white, and I just can’t do that now.
But you wrote:
“Check if your staircase has been previously painted with a stain or oil paint”
— How do I figure that out?
I would say to be on the safe side just prime with an oil primer before you begin painting on wood. However, if you did want to check, I believe you can take some rubbing alcohol on a cotton swab and wipe the surface. If you see any white or faded streaks, you know it has been painted with a latex product. If no paints comes off, then it has been painted with an oil based product. Hope this helps!!
Hi,
I just purchased a new construction home. Before they did the stairs I told them I wanted the White risers. He put in a panel then painted. The gaps on the side you experienced after painting happened with my stairs. First, what kind of paint should be used on the panels? Should I fill the gaps first, then paint, or the other way around?
Hi Laila,
Congrats on the new house! The paint that you select for this project should be determined from the type of materials that you are painting. If the riser is MDF, latex paint is fine. If you are painting wood risers, I would recommend an oil to latex conversion primer first and then you can use white latex paint to finish. As for the gaps, fill them in before you paint. It will be much easier and you can paint right over it. I filled my gaps after I painted simply because I didn’t realize I need to fill them in until afterwards. Hope this helps!!
Did you sand your risers before priming them?
Hi Lori, yes I gave them a light sanding before I painted.
Lori, I have come to the dreaded mistake you did also…. i was caulking and painted started pealing with any swipe 🙁 What did you do when yours did this? Do I need to scrape it off and start over??? Thanks
My risers are painted white, don’t know with what kind of paint. Now they are scuffed and look terrible. What is the easiest way to fix this?
Linda
Hi Linda,
Try using either a pencil easer or Mr. Clean magic easer. If it still doesn’t come out, you may need to repaint.
I just painted my stairs (both treads and risers) using an edger like you suggested. FANTASTICALLY easy and SO quick! Thank you for posting this ingenious tool to paint steps. It saved me loads of time!
Glad to hear! It’s definitely one of my fave tools to use 😉
Can the same edger be used afterwards with a different paint color or do you dispose of it after one use?
What type/sheen of paint did you use? Egg shell, satin?? Is it bright white? Thanks! Love the way this turned out!
Hi Jenn,
The colour is Simply White from Benjamin Moore. I believe I used an eggshell finish.
Hi Sabrina, I am looking for the same look you have on the stairs here. I like the white trim around the baseboards and up the side of the stairs but all of the trim in my house is dark wood. will it look funny if I paint my trim up the stairway white like the risers? Also I have some pretty good size cracks between the riser and step cap,. Would you suggest calking?
Thanks for the rubbing alcohol tip !
What is the name of that tool you used?! About to start on the project!
Does the edger pad work ok when you get to the spindles? In the photo it looks like the pad might be a bit cumbersome next to the spindles? Thanks!
Hi Sabrina, just a hint when painting your spindles. First tape your top rail and the stair tread around the bottom of the spindles. Then using a dish washing glove and a car washing mitt carefully paint each spindle. The use of drop cloths is highly recommended. Good luck and happy painting.
Paul