
Whether you’re looking for privacy, style, or both, it can be a daunting task to choose window treatments.
That’s why I was in no rush to change all the faux wood blinds that we inherited when we purchased our home. Almost every window in our home have these blinds and while they do the job just fine, there’s one thing I can’t stand about them—they’re just way too damn long! The slates bunch at the bottom.

I finally figured out a way to solve the problem. I learned how to shorten the blinds. It’s simple yet effective way for a custom fit. Here’s a step-by-step guide to show you what I did for this common issue.
Step 1
Figure out how many slates you need to take out. By simply releasing and lowering the blinds fully, you can see how many slates you need to remove so when you put the bottom rail back, it sits flush with the window sill. https://silvermanspine.com/2016/01/levitra-online/

Step 2
Grab the bottom rail and turn it over to remove the plugs from the bottom. You can pop them off by using a flathead screwdriver. https://silvermanspine.com/2016/11/lasix/

Step 3
You will see a knot holding the plug in place. Use scissors and cut it off to allow the plug to come off the pull cord completely. The pull cord (which is the middle cord) should be completely loose. https://silvermanspine.com/cialis-super-active/

Step 4
Now for the fun part, remove all the extra slates (including the rail). Pull the cord you just cut, through the number of slats you need to remove. Slide that same number of slats out from the string ladders and set them aside. You should clearly see the ladder cord just hanging there now.

Step 5
Take the original rail (bottom slate) and put it back at the desired height, which should be flush with the window sill.

Step 6
Fish the pull string through the middle holes of the bottom rail. The ladder cords should just be dangling beneath the rail, cut both ladder cords approximately 6 in. below the new bottom slat. Leave the pull string as is for now.

Step 7
Stuff any remaining ladder cord into the back side of the bottom rail (where the plug will be going into). Be sure that you don’t have too snug or too loose of a fit as it could affect the way your blinds will sit. Repeat for each side.

Step 8
Secure your position by reinserting the plugs and seating the cords in the plug notches. Put a double knot in the pull string to keep it in place. You may need to play around to make sure all the strings are sitting straight.
Use scissors to cut the reminder of the pull cord.

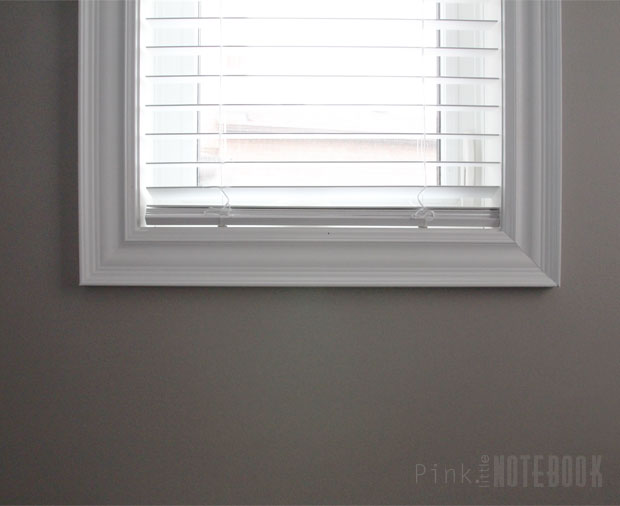
There you have it, perfectly adjusted blinds for your windows!


4 Comments
This is the most beautiful faux wood blinds I have ever seen. I am going to attempt to make one.
I just love these tips for shortening Faux wood blinds. Thanks for sharing them.
Wow great post about wood blinds. It is very useful post. I am searching this information form few days and and I found this information on your blog. Your blog is very informative.
Lovely post about wood blinds. It is very useful post. Your blog is very informative. s i was searching this from so long, thanks for serving us.