It’s time for another fireplace update!
As you may recall from last week’s post, we discovered our corner unit went way beyond a cosmetic face-lift; our gas fireplace was a safety hazard.
Of course, finding this out was a little more than we could bargain for but we revised our plan to not only include updating the look and feel of the surround but to resuscitate our gas fireplace.
As DIYers, we do love tackling as much as we can ourselves; however, we also know when we need to step back and let the pros handle business. For the install of our new Napoleon Ascent 36 fireplace, we did hire a certified gas technician to make sure the gas and venting connections were done properly.
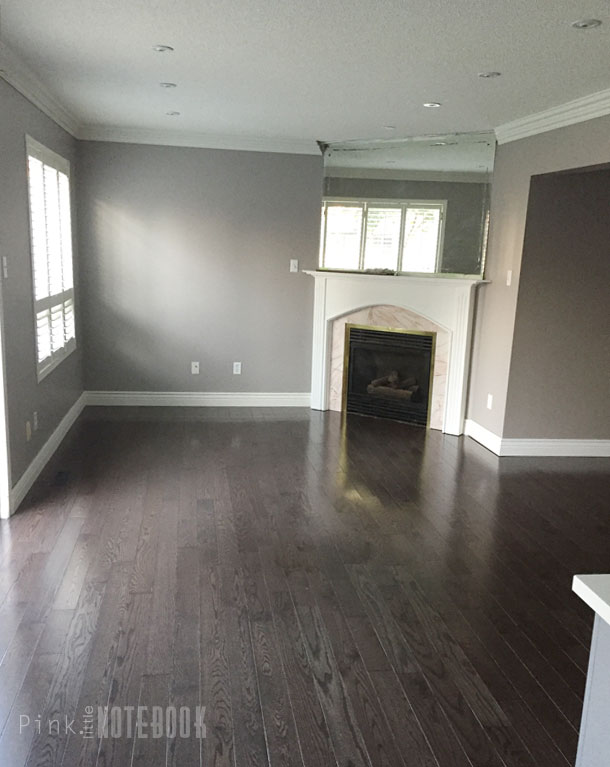
We wanted to do as much as we could before the installation took place. In order for the technician to remove our old gas unit, we knew we had to take off the fireplace surround. The giant mirror is going to stay in place since it will not budge off the drywall. I will be working it into our finished design.
Salvaging the mantel (without any damage) is our number one priority. To remove, we began prying back the finished edging around the inner perimeter of the surround’s header and legs. There was an inch thick of caulking behind it, which took us forever to peel out. However, it’s definitely necessary in order to loosen the bond between the mantel and the stone. Once we had enough of a gap to use a pry bar, we gently pulled away the legs from the stone and drywall.
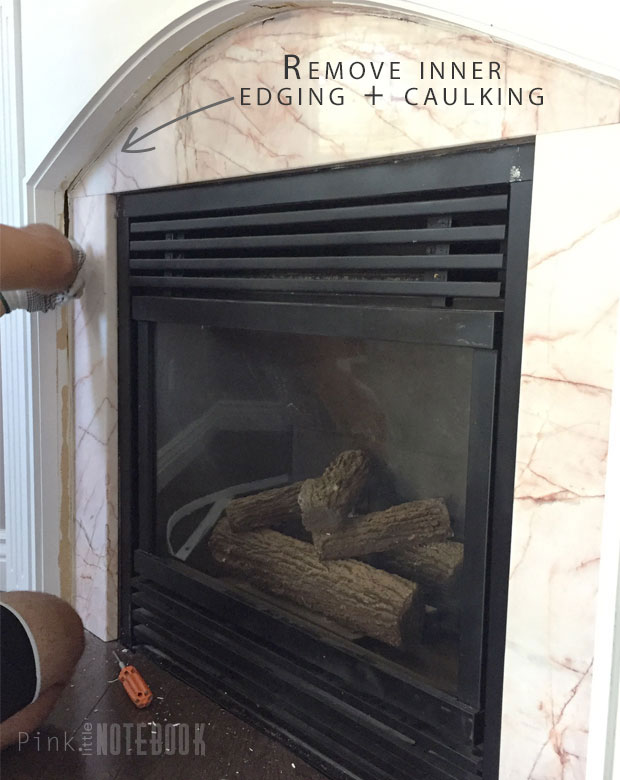
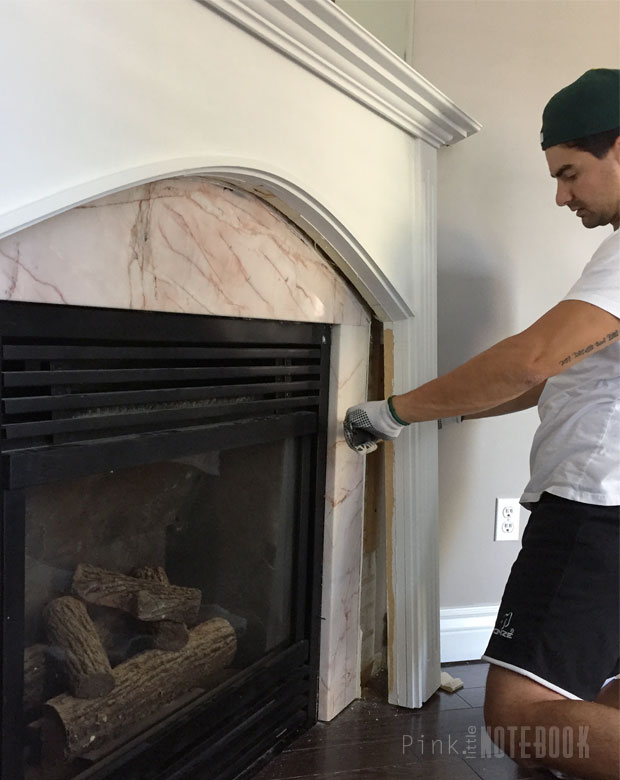
Eventually with a little tug, Mike was able to remove the entire fireplace safe and sound!
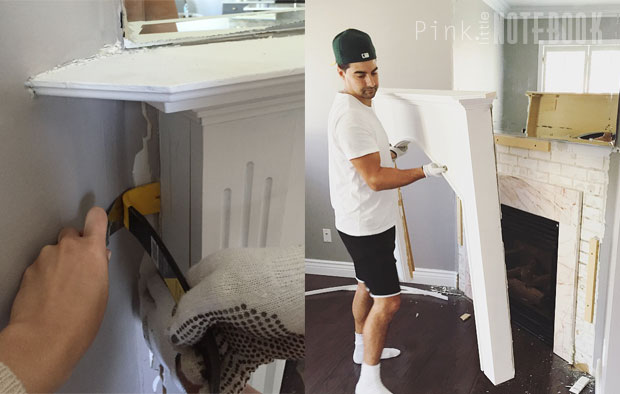
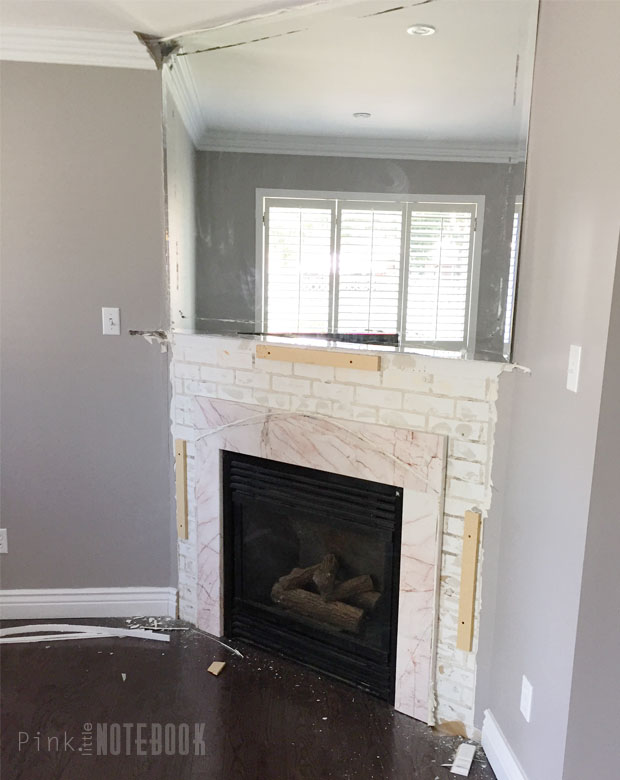
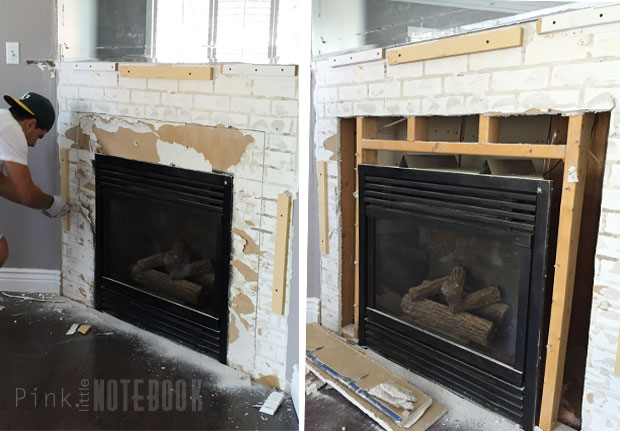
With one last step, Mike removed the remaining stone and drywall surrounding the fireplace. Now we just had to wait for the day of install.
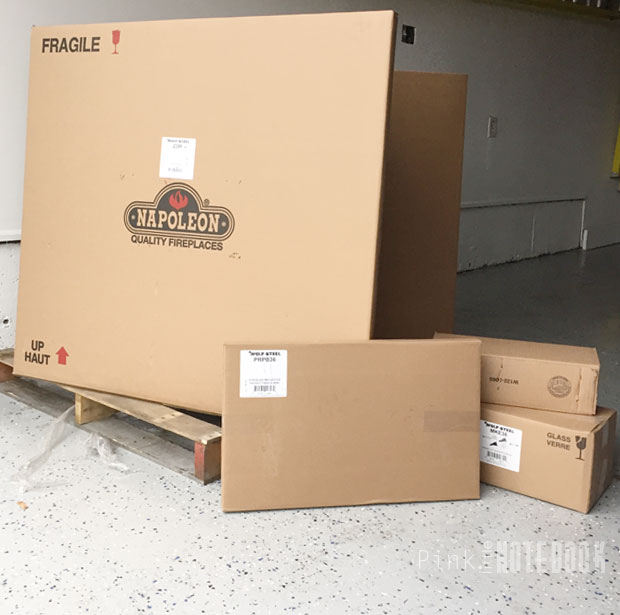
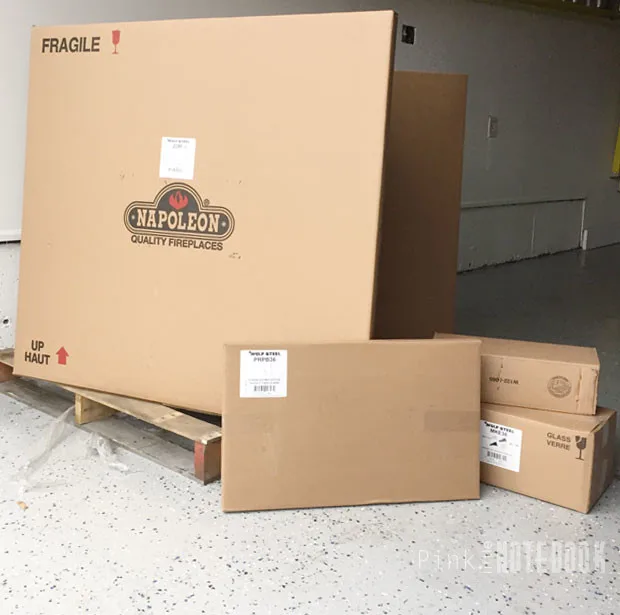
In the meantime, our nicely packaged Napoleon fireplace was delivered to us pretty quickly. The great thing about the Ascent 36 model is it’s perfect for a corner fireplace. It has a shallow depth allowing for versatile installation, which means we were able to get the rear venting that we needed. It saved us major dollars for not having to create another direct vent hole on the exterior brick wall of our home.
I also learned that when you’re retrofitting a fireplace, it’s never recommended to reuse the old venting. So once the old unit was pulled out, the venting was removed and tossed as well.
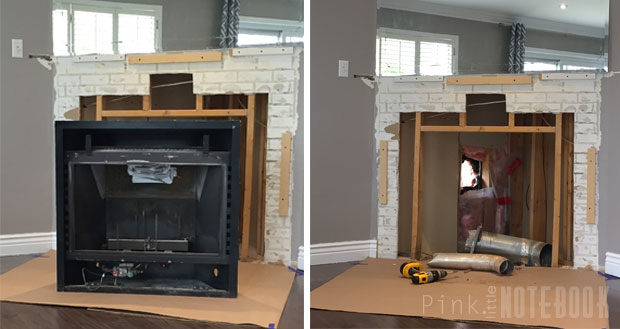
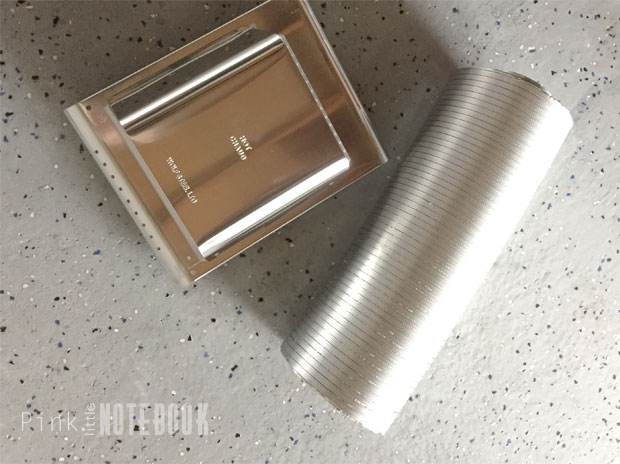
For my new Napoleon fireplace, I purchased a 5ft flex pipe (4″/7″) that was recommended for my model and this fancy new termination cap for the exterior.
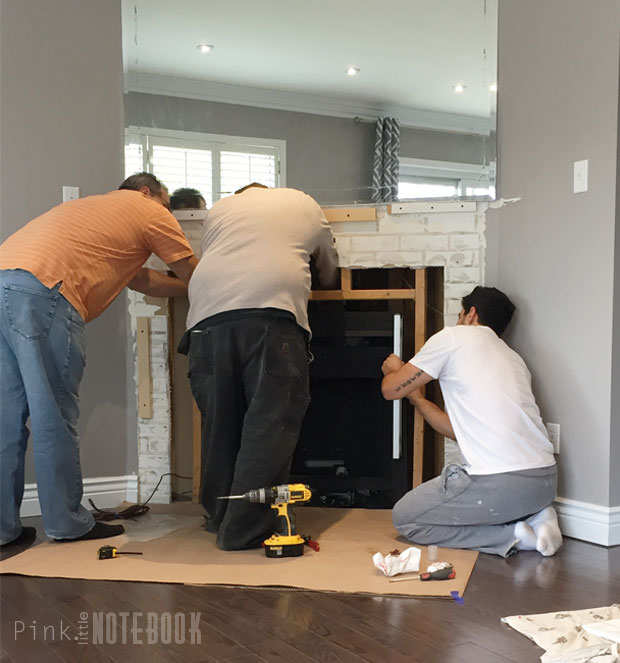
This past weekend, the installation happened. I sat back while I waited for the new gas fireplace to be hooked up. I do have a neat video I’ll be sharing in part 3 that will showcase everything from start to finish.
Once I got confirmation that everything was working correctly, it was time to accessorize my black box!
MIRRO-FLAME™ Porcelain Reflective Radiant Panels
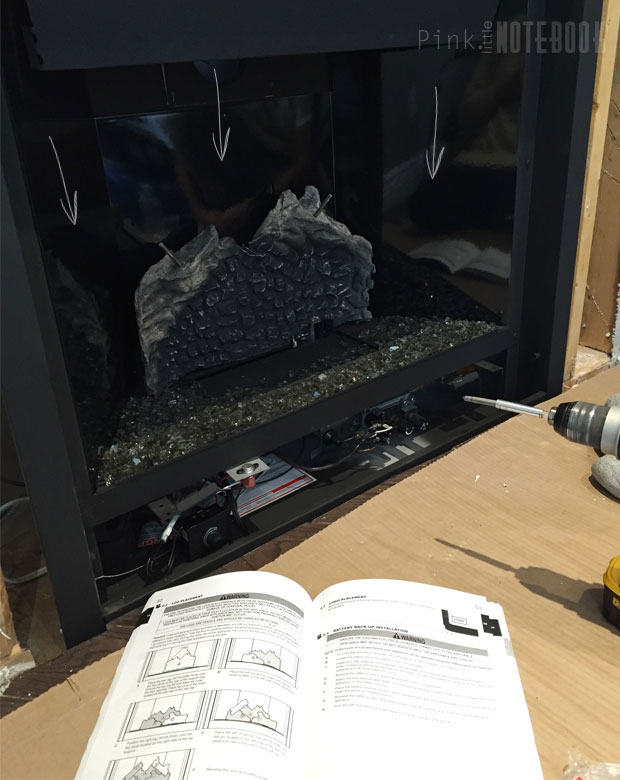
One of the many neat features of the Napoleon fireplaces is the Porcelain Reflective Panels. It acts as a black-mirrored surface so when the flame is on, the box feels deeper and the flame pattern multiplies on all three sides. This illusion is especially helpful when you have a shallow corner fireplace. The ambience is absolutely stunning.
PHAZER Log Set/ Shore Fire Kit
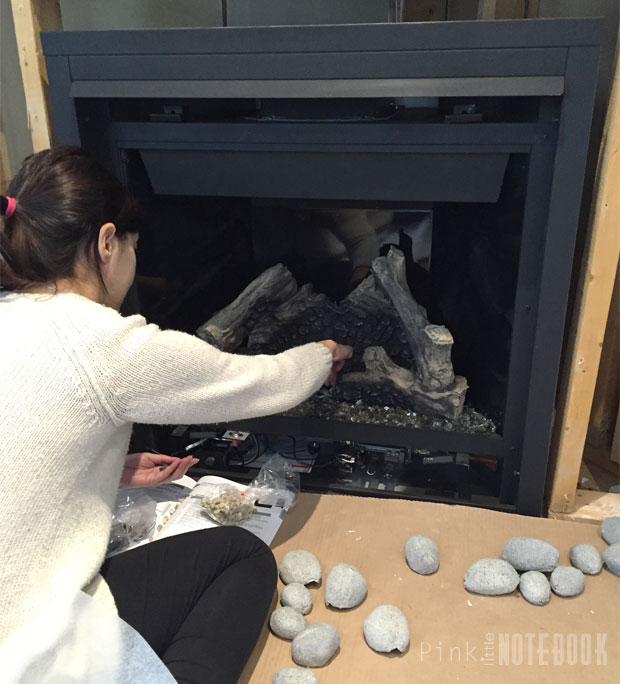
The Ascent 36 does come with a PHAZER log set; however, I also opted for the shore fire kit which comes with a variety of rock, sand vermiculite and black glass. I was thinking either to combine the stones and logs together or just use the stones on its own, similar to the below image:
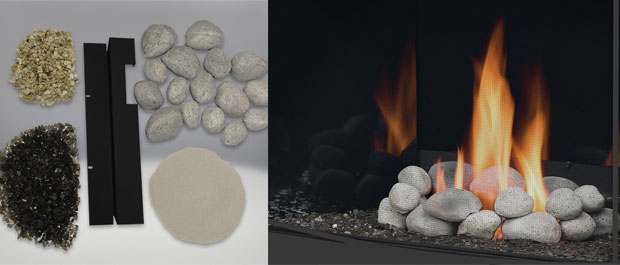
I have yet to make a decision. Once the fireplace surround is back up, it will be easier for me to decide which look to go for. However, I do love the fact that I have the option to totally change up the interior. How fun would it be to change it up throughout the year or during the holiday season!
Decorative Panels
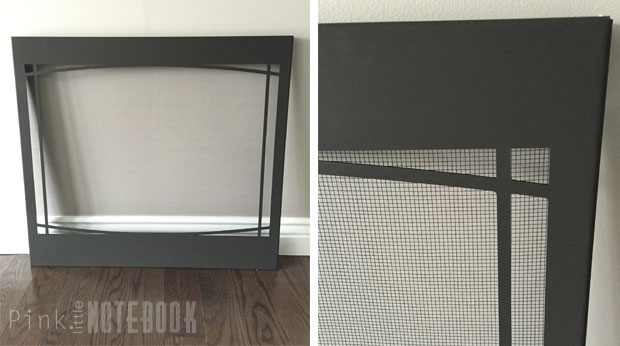
Each fireplace is equipped with a standard safety barrier. It’s a netted panel that is placed in front of the glass to shield your family from accidentally touching the hot glass when the fireplace is running. To add a little more customization to your design, you can choose a number of different decorative fronts, which the safety barrier fits right into.
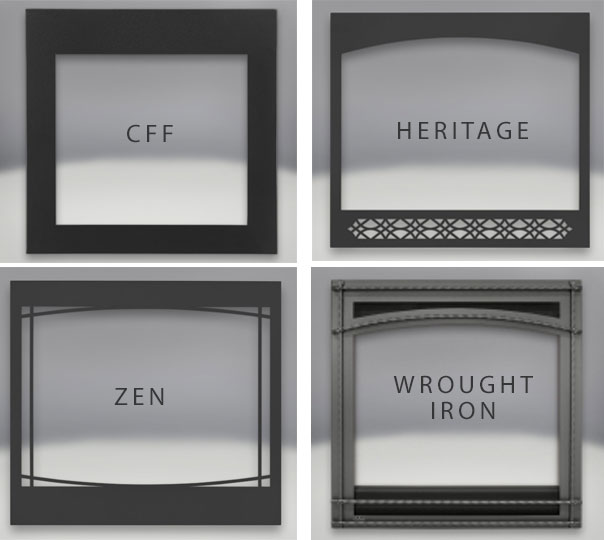
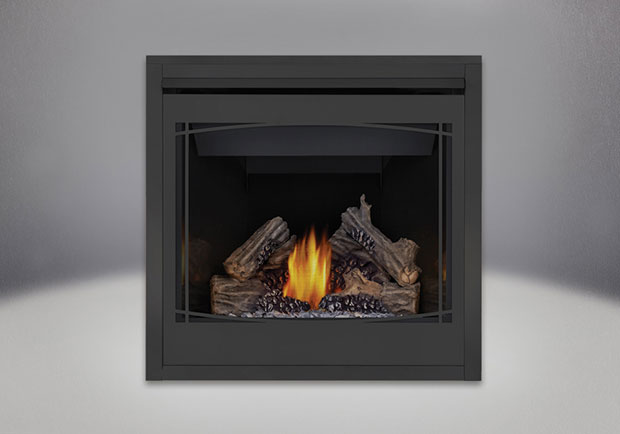
I ended up choosing the sleek look of the Zen decorative panel. It’s light weight, easy to maneuver and I can’t tell you how much I love the video instructions on Napoleon’s website. If you’re not one for reading instructions, they have video tutorials on all product installations. It’s pretty impressive!
Blower Kit/ Remote
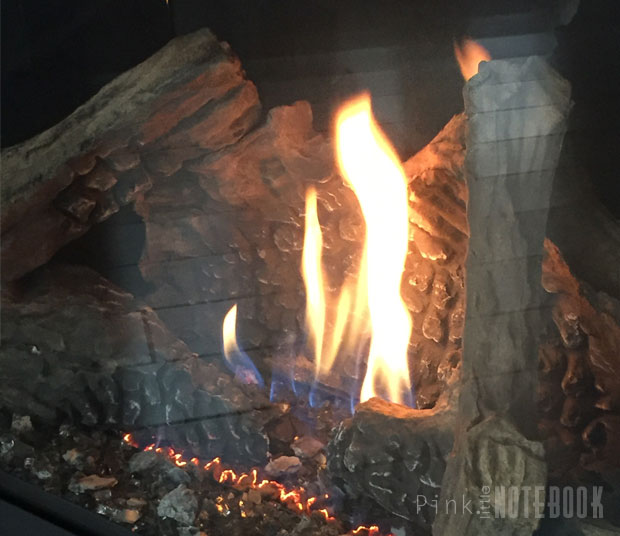
I cannot even put into words how happy I am that when this fireplace is running. The amount of heat that is produced in a matter of minutes is like nothing we’ve ever owned in the past. This model only goes up to 18,000 BTU’s, which is more than sufficient for our size of room, however, I can’t even imagine what Napoleon’s 50,000 BTU’s fireplaces feel like!
To really maximize the efficiency of our new gas fireplace, we’ve installed a blower kit underneath the unit. This will help to distribute the hot air to the adjacent rooms. I can’t wait to use this feature, along with the remote during those cold winter days. They say having an efficient natural gas fireplace will help reduce your yearly heating costs so I’m definitely curious to see if this stands true!
With our Napoleon fireplace finally installed, we’ve been working away on the fireplace surround. We are looking forward to completing the entire look. Watch out for part 3 of this fireplace makeover 🙂

You may also like. . .
Part 1: Fireplace Makeover – The Death Trap
Part 2: We’ve Got a New Fireplace! Napoleon Ascent 36
Part 3: Fireplace Makeover Before & After
Before & After: Family Room Reveal
Disclosure: I’m thrilled to have the opportunity to work with Napoleon Fireplaces in this fireplace makeover. I was provided with product for this project. All views, opinions and creativity are 100% my own!





10 Comments
The fireplace looks GREAT and I’m so impressed that y’all installed it yourselves!
Thanks so much Trish! We tried to do as much as we can ourselves but the install of the gas appliance was done by certified technician 🙂 We didn’t want to chance anything.
Your new fireplace looks great so far! I’m impressed.
LiveLifeWell,
Allison Jones
Thanks so much Allison!
I love it so much! I really wish I had a fireplace… I’m thinking about buying just a little electric one for my living room. One that is fake-doesn’t need a chimney or anything.
Having a fireplace is definitely worth it. They have a ton of options out there for vent free or electric fireplaces.
Your fireplace looks great!
Where is the blower control? Does it wire to a place on the wall, or is it behind the decorative panel such that something would have to be removed?
Hi Michael,
The blower control is located behind the decorative panel. When it’s switched to the “on” position, it automatically comes on when it reaches a certain temperature.
Hi. We’re considering an Ascent 36 for our brick fireplace/chimney, which lead me to your site. Thanks for providing your narrative.
We’ve already built out our rough-in to match the dimensions of the unit, and have dropped a flexible pipe down the chimney flue. We have not taken into account any access space to attach the pipe to the unit though! The online instruction manual wasn’t very insightful on individual installation steps, and so we assumed that the duct pipe could be attached from inside the fireplace once the unit is set in place.
In your photo with three gentlemen, one seemingly grabs into the space above the unit, right in-between the wood framing. I can only assume that they are attaching the duct pipe to the top of the unit. Is that correct? Can you tell how much of an access opening that was?
Any other pieces of information on how the duct pipe was attached would be much appreciated.
Thanks!